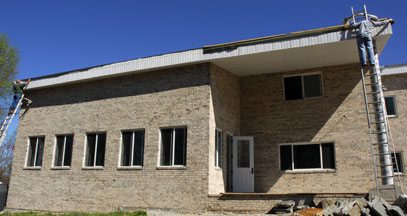
| Ron and Andy Jestes (Square 1 Gutters, Algood, TN, home: 931-537-3884 / cell: 931 267-3171) installed our .032 seamless 6" white aluminum gutters and downspouts. We chose heavy duty 6" gutters because the shed-style roof is very large and we didn't want a lot of downspouts. | |||
 |
 |
 |
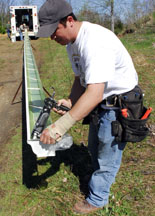 |
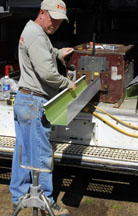
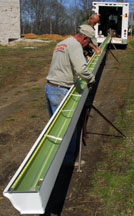
| The roof was measured to determine the length of the gutter. | Ron used a gutter machine in the back of his truck to form the seamless gutter. | The end cap was slipped on, then aluminum brackets were inserted. | Mark Jackson caulked the end cap joint to secure it and make it water-tight. |
 |
 |
 |
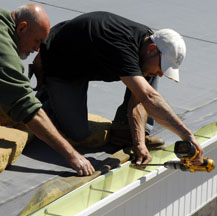 |
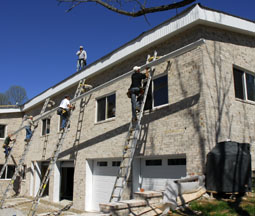
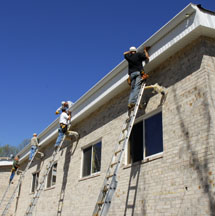
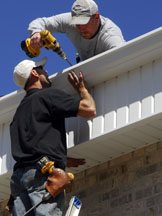
| Four guys raised the gutter in unison, then held it in place until they were screwed through a few of the hidden hangars. Galvanized screws with neoprene washers secured the brackets into the 2" x 6" pressure treated wood that the roofers attached around the edge of the concrete roof. | Dennis Gaw held back the edge of the rubber roof while Wayne Justice screwed the rest of brackets to the wood. | ||
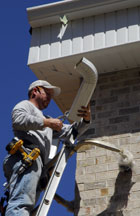
| Ronnie Justice Jr. installed B elbow downspouts to the outside corners of the house. | ||||
 |
 |
 |
 |
 |
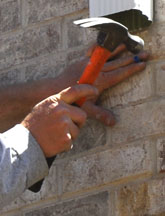
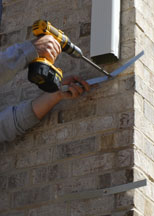
| Crimpers decreased the bottom diameter to assure a good fit. | A 10-12 x 1 masonry anchor was hammered into a hole drilled into the grout. | Then a strap was screwed in place with a 1" galvanized screw and neoprene washer. | The strap was snugly wrapped, then screwed in place. | A spray of white gutter paint covered any exposed metal. |
 |
 |
 |
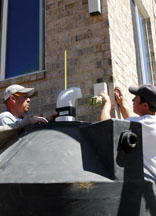 |
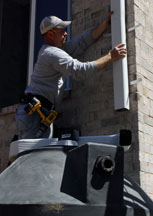
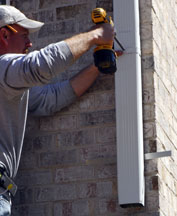
| Ronnie repeated the same procedure over and over until everything was secure. He used 1/4" self tapping white hex head screws to secure the straps to the downspouts. Some of the downspouts empty into large rain barrels (seen above). | |||
 |
 |
 |
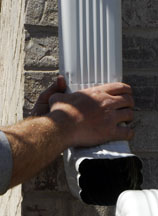 |
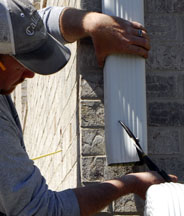
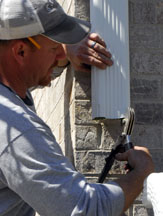
| Ronnie cut the metal with tin snips, then crimped the edge so that he could slide on an A elbow exactly where it was needed so that the water would precisely fall into the top of the rain barrel. The top piece always goes inside the bottom piece so that the water will not leak out. | |||