| The walls were covered with 5/8" thick sheetrock/drywall/wallboard (the extra thickness was needed to protect the flammable foam walls). The ceilings were covered with 1/2" drywall (5/8" would have been too heavy and might have ripped the metal studs out of the foam). | ||
 |
 |
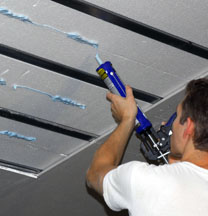 |
| Larry Howard operated the lift from the delivery truck as Ezra Pease and Jason Hines unloaded and distributed the drywall to the various rooms where it would be installed. They carried some of it and used a special dolly to move several sheets at a time. | The ceilings were installed first. Self drilling 6 x 1 1/4" zinc screws and glue secured the sheetrock up there. | |
| Matthew, Mike, and Mark Thomas (Cookeville, TN 931-858-8122) are true rock stars. It was such a pleasure to watch this family trio at work. These talented guys must be very good with puzzles, because covering the not-square, bulging walls and ceilings was like putting together a puzzle without the picture on the lid! Their careful cutting and use of scrap, wherever possible, produced very little waste. | ||
 |
 |
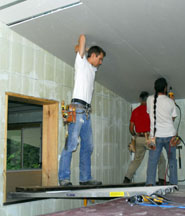 |
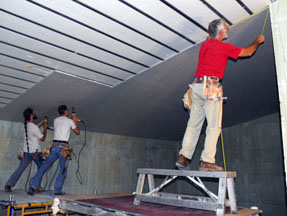
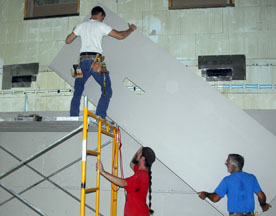
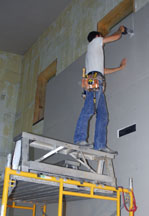
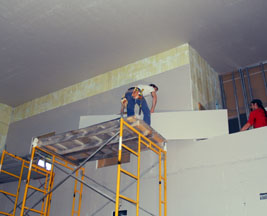
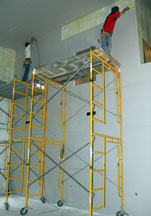
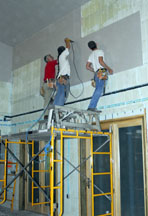
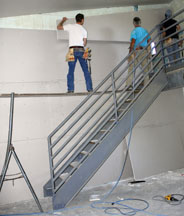
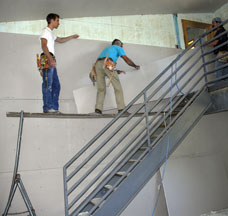
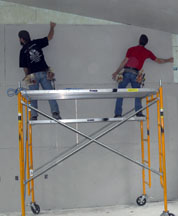
| Mobile scaffolding helped them move and attach the heavy 12' x 1/2" panels with self-tapping screws to the metal studs embedded into the bottom of the ICF roof panels. | A walk-board on a sill and scaffolding supported them over the stairs. | |
 |
 |
 |
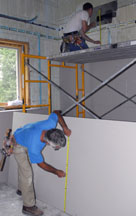 |
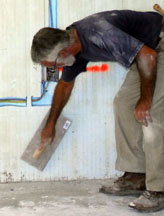
| Mike measured while his sons screwed the panels to the ceiling. | Splattered concrete was removed with a rasp. | Mark called out the hole's measurements while Mike marked them with a pencil. | |
 |
 |
 |
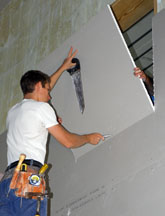 |
| Mike cut out the opening for the HVAC hole, then Mark and Mike handed the piece to Matthew. | Large openings were covered, then cut out with a saw (see here) or a router (see below). | ||
 |
 |
 |
 |
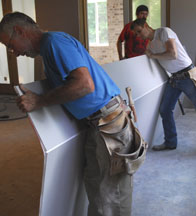
| Sometimes the walls were covered from the bottom up, other times the drywall was installed from the top down. | Some openings were cut out before installation. | ||
 |
 |
 |
 |
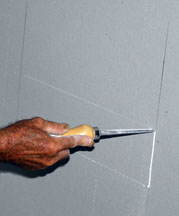
| Other openings were cut out later with a router in a counterclockwise direction, resting the tip of the cutting blade against the inside of the opening. | Straight cuts were scored with a utility knife on the front of the board, then the board was folded and cut on the back. Some cut edges were smoothed with a rasp. | ||
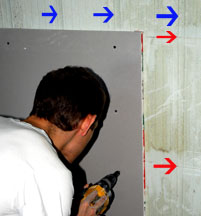
| Size 6 x 1 5/8" phosphate plated coarse thread bugle head sheetrock screws were inserted into the plastic strips that were embedded in the factory every 8" in the blocks with a drywall screw gun. The locations of the strips are indicated by depressions in the face of the blocks. | |||
 |
 |
 |
 |
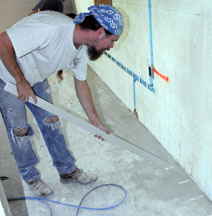
| Arrows mark the locations of the plastic strips that are embedded 1/8" below the surface of the blocks. | Mark marked the location of the embedded strips on the floor to assure the locations when covered with sheetrock. | Because the screws along the cut edges were not very secure, most of the sheetrock was butted together between the strips and screwed a few inches from the joint. | |
 |
 |
 |
 |
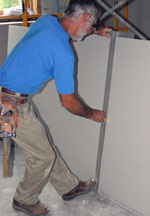
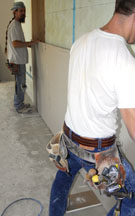
| Pieces of sheetrock temporarily placed on the floor under the panel produced a 5/8" gap between the sheetrock and the concrete floor. | The top angled wall piece was trimmed several times with a rasp to make it snugly fit against the wavy ceiling. | ||
 |
 |
 |
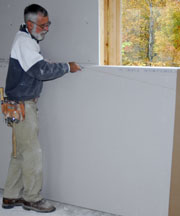
| The angle was marked with a pencil against a ruler, cut with a box knife, then the shaped piece was lifted and screwed every 16" into the embedded plastic strips with sheetrock screws. | ||